


A smart vault layout is essential to your Fallout Shelter strategy. The way you organise rooms affects multiple things, including resource production, defense, expansion and ease of play. In this guide, you’ll learn the best vault layouts, room placement strategies, and key mistakes to avoid.
Fallout Shelter is available on multiple platforms, but this guide is written with mobile players in mind – whether you’re on Android or iOS.
Why Does Vault Layout Matter in Fallout Shelter?
Your layout controls:
How fast and efficiently you produce resources
How quickly dwellers can respond to incidents
How easy it is to upgrade and expand
Whether your vault descends into chaos mid-game
Getting your layout right early saves you hours of frustration later.
Note: If you’re in the early game and don’t like the layout of your vault, it’s probably best to wait until late game when caps aren’t an issue, to rearrange.
Best Practices for Vault Layout
Here’s how to design a layout that’s clean, efficient, and future-proof:
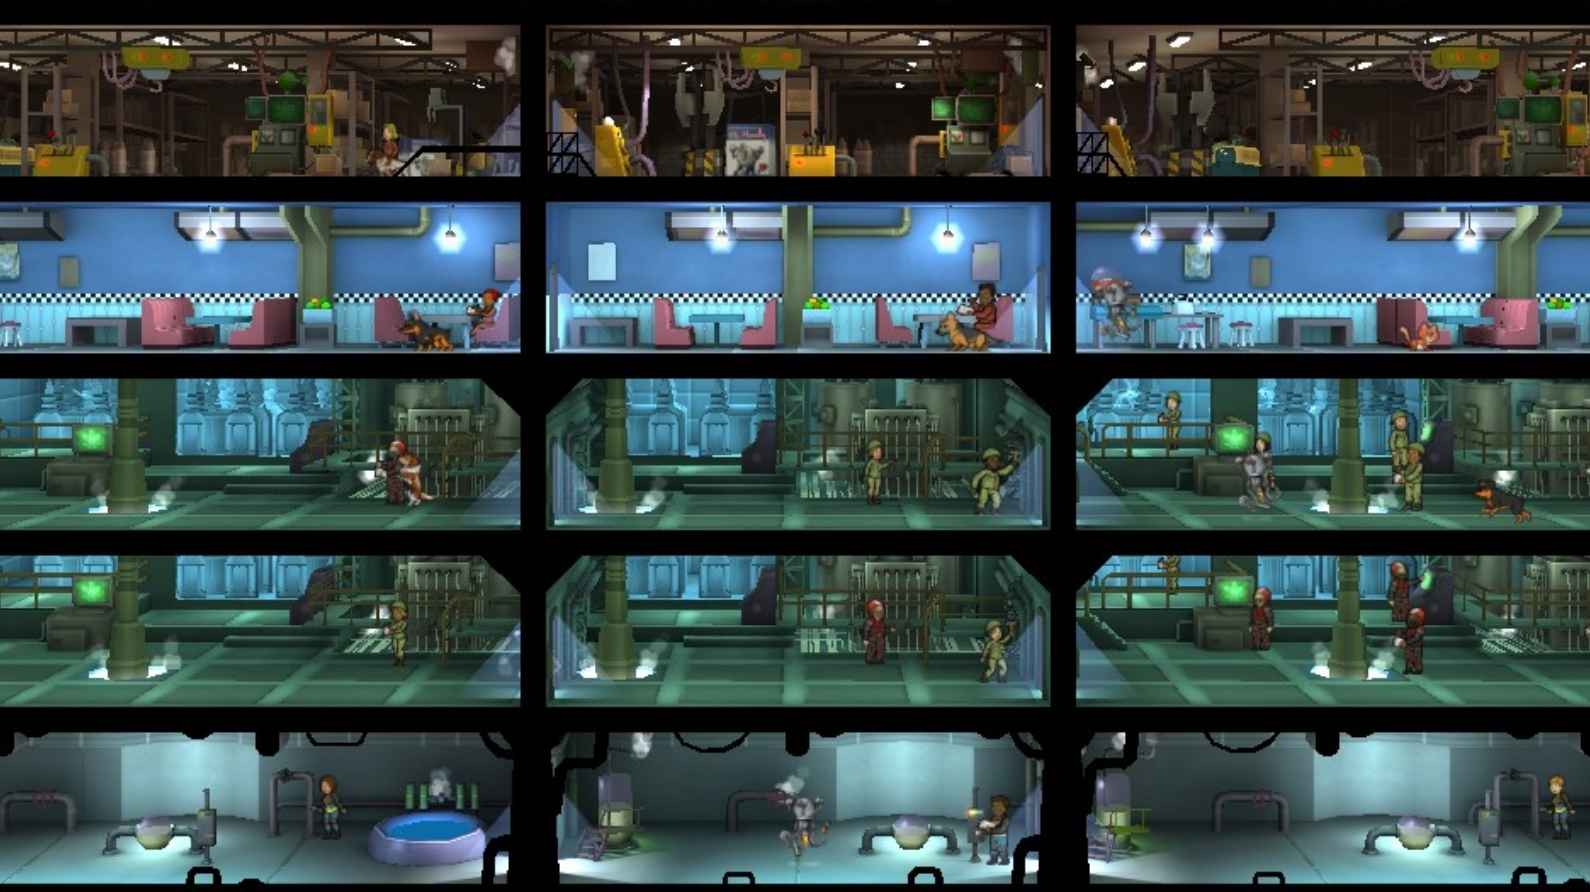
Build Horizontally Before Vertically
Start by expanding to the sides, not downward. This allows:
Easier room merging (for 2- or 3-wide rooms)
Better organisation by room type
Faster incident response
Go vertical only when you run out of horizontal space on a floor.
Use 3-Wide Rooms for Efficiency
Always aim to merge 3 of the same room horizontally whenever possible. This:
Produces more resources per click
Uses fewer Dwellers per output
Reduces the number of rooms to manage
For example, instead of 3 restaurants placed randomly, build them next to each other for room merging to take place.
Keep Production Rooms on Upper Levels
Put rooms like Power Generators, Restaurants, and Water Treatment near the top. This is because:
Easier to rush in emergencies
Dwellers reach them faster during fires or infestations
You can respond to threats before they spread downward
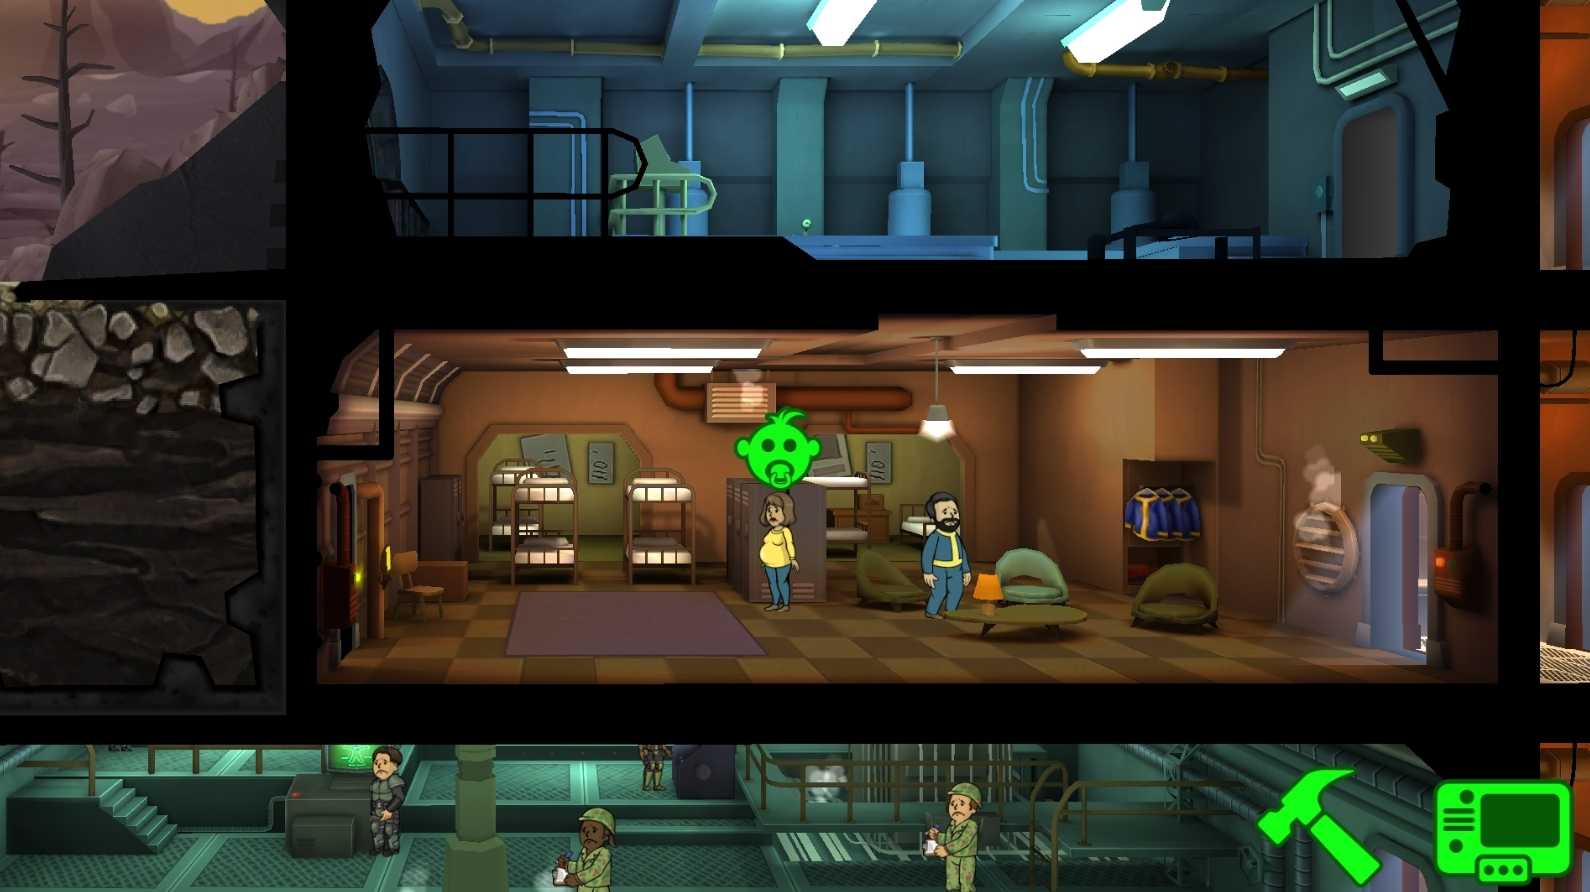
Place Living Quarters Off to the Side
Living Quarters don’t produce anything and can be kept away from high-traffic areas. Place them:
In side branches
One or two levels below the vault door
Near elevators but not central to your build
This frees up premium space for useful rooms.
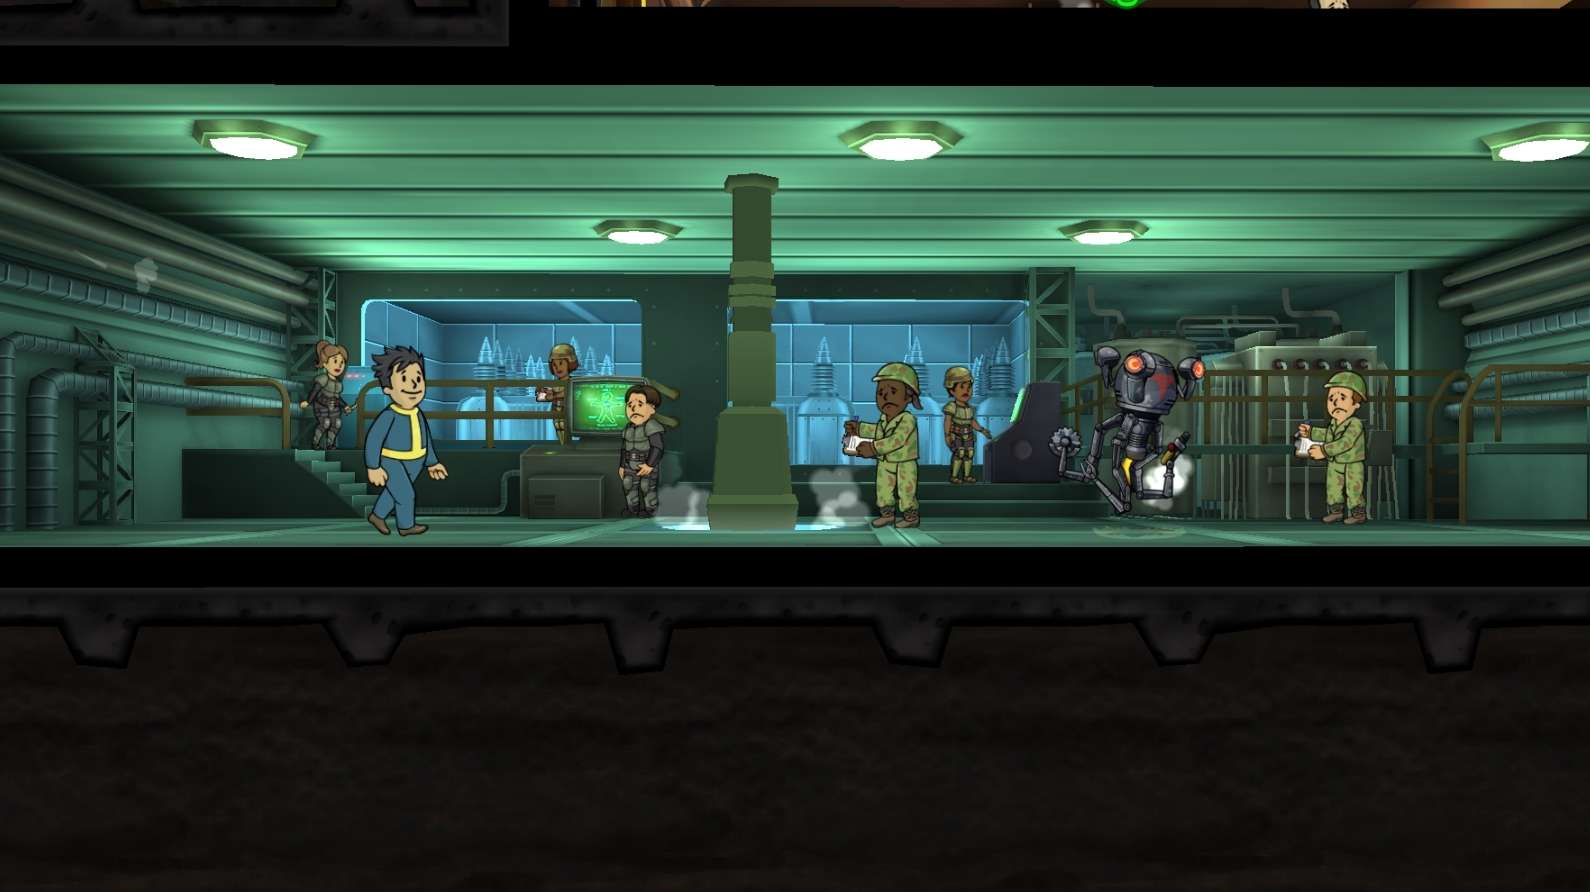
Protect the Vault Door Area
The top-left entrance is your vault’s first line of defense against raiders, Deathclaws, and radscorpions.
Put your strongest armed dwellers in rooms near the entrance
Use the Living Quarters to house combat-ready residents
Equip these dwellers with the best weapons and endurance outfits you have (endurance increases HP)
Group Training Rooms Together
Place all your training rooms (e.g. Weight Room, Athletics Room) on the same floor or block. Why?
Keeps your SPECIAL stat training organised
Makes it easy to check who’s training where
Reduces confusion later in the game
Build Utility Rooms on Lower Floors
Rooms like:
Storage Rooms
Medbays
Science Labs
Workshops
can be placed further down, where incident response speed matters less.
Use Elevators Strategically
Don’t scatter elevators everywhere. Instead:
Build them on the ends of long room blocks
Keep them symmetrical for easy navigation
Minimise space taken up by elevator shafts
This gives you more room for productive spaces.
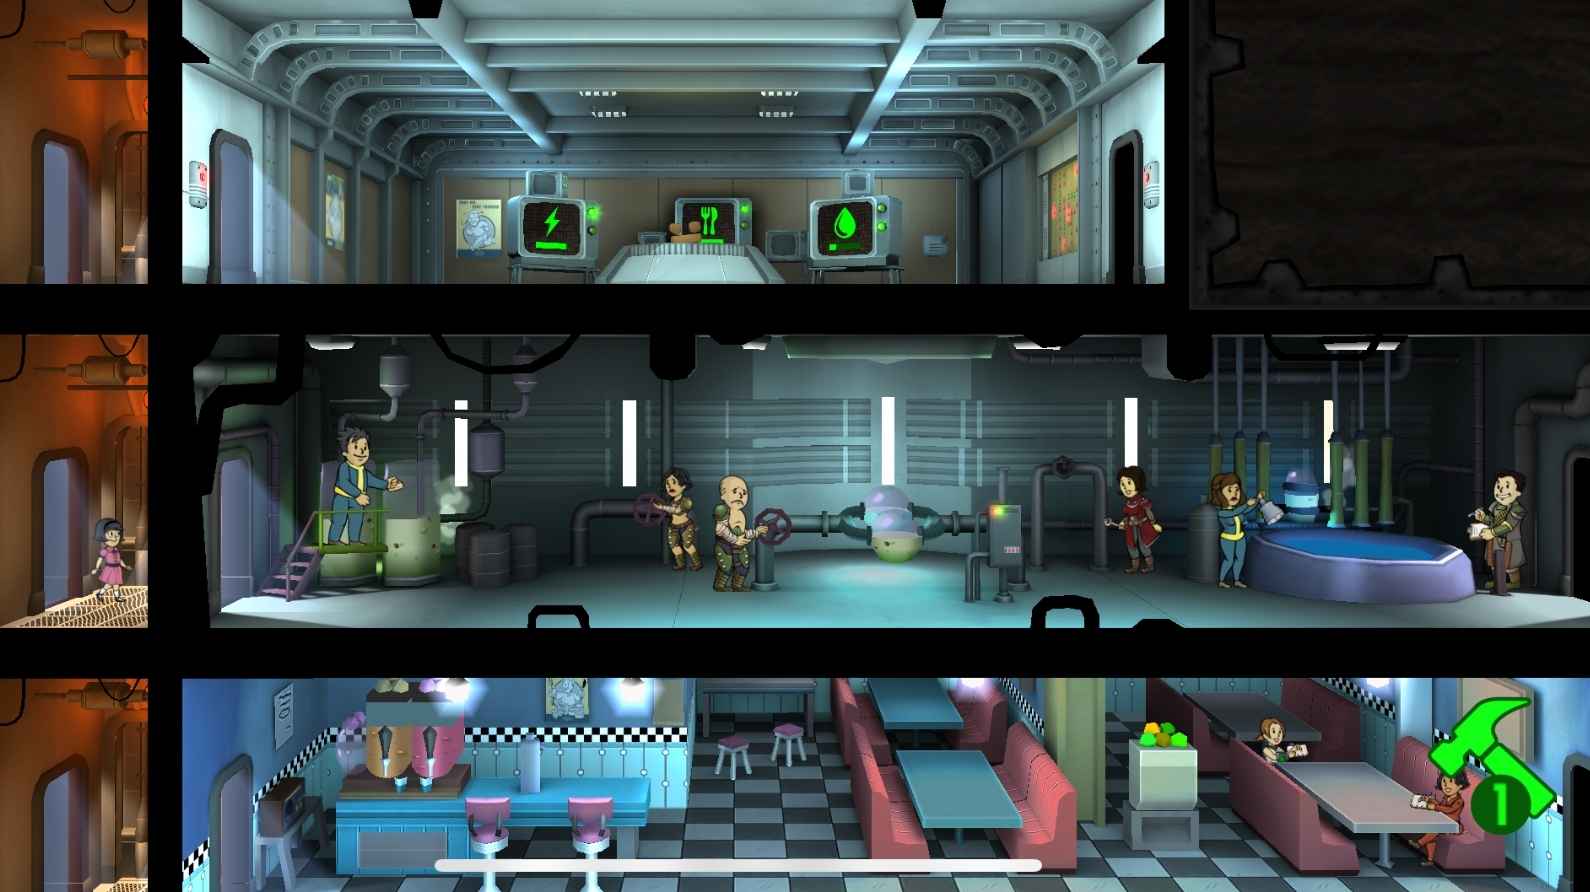
Example Vault Layout (Early Game)
Here’s a suggested early-game structure (top to bottom):
1: Top floor: Vault Door + 3-wide Power Generator + 3-wide Diner
2: Second floor: 3-wide Water Treatment + Living Quarters (side)
3: Third floor: Medbay + Science Lab
4: Fourth floor: Storage Room + Radio Studio or Training Rooms
As your vault grows, you can expand these floors horizontally before going deeper.
Summary
A well-organised vault isn’t just nice to look at, it’s the foundation of your survival. With an efficient layout, you’ll spend less time putting out fires (literally) and more time expanding your population, exploring the wasteland, and crafting powerful gear.


Leave a comment