


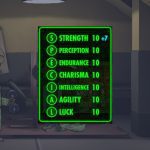
In Fallout Shelter, every Dweller has seven core attributes that affect their performance, known as SPECIAL stats: Strength, Perception, Endurance, Charisma, Intelligence, Agility, and Luck.
If you’re assigning dwellers to rooms, sending them to the wasteland, or training them, understanding how each stat works is key to running a successful vault.
This guide breaks down what each SPECIAL stat does, what rooms or activities it affects, and tips for boosting them effectively.
Fallout Shelter is available on multiple platforms, but this guide is written with mobile players in mind – whether you’re on Android or iOS.
What is SPECIAL in Fallout Shelter?
SPECIAL is an acronym that stands for:
Strength
Perception
Endurance
Charisma
Intelligence
Agility
Luck
Each stat impacts different aspects of your vault, whether this is production speed, incident response, combat effectiveness or exploration outcomes.
Strength (STR)
What it affects:
Power production speed in Power Generators and Nuclear Reactors
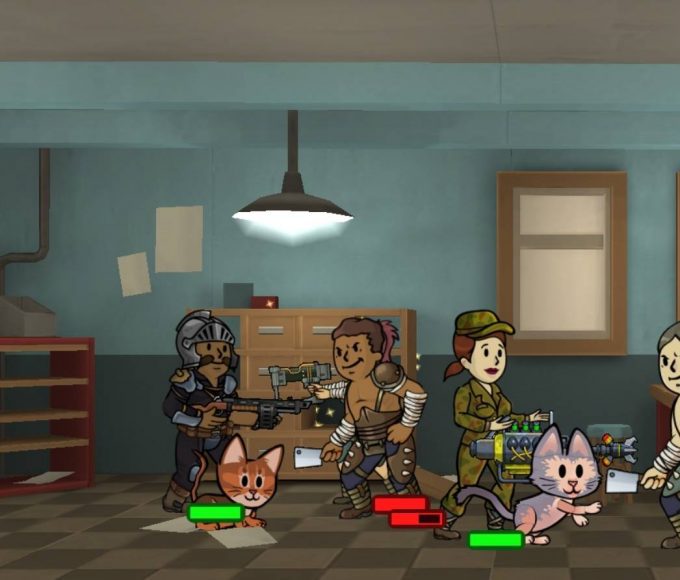
Combat damage in room-based incidents
Best use:
Assign high-STR Dwellers to Power rooms and keep some near the vault entrance to defend against raiders.

Perception (PER)
What it affects:
Water production in Water Treatment and Water Purification Plants
Accuracy in combat and loot discovery in the wasteland
Best use:
Assign dwellers to Water rooms, and train explorers for better encounter outcomes.

Endurance (END)
What it affects:
Dweller health (HP) growth per level
Resistance to radiation and damage
Wasteland survival time
Best use:
Train before leveling up to maximise HP gains, and allocate training to high-end dwellers for combat and exploration.
Tip: Endurance has a hidden effect, the higher it is when a dweller levels up, the more permanent HP they gain.

Charisma (CHA)
What it affects:
Breeding speed in Living Quarters
Radio Studio effectiveness (attracting new Dwellers)
Best use:
Use high charisma dwellers to grow your population quickly or attract outsiders via the Radio Studio.

Intelligence (INT)
What it affects:
Stimpak and RadAway production in Medbays and Science Labs
Quest healing efficiency
Best use:
Assign to medical rooms and send dwellers on quests to improve survival during longer missions.

Agility (AGI)
What it affects:
Food production speed in Restaurants and Gardens
Combat speed (how fast Dwellers attack)
Best use:
Use for food rooms and equip to quest dwellers for faster combat actions.

Luck (LCK)
What it affects:
Rush success rate and lower incident chance
Caps found during wasteland exploration
Critical hit chance in quest combat
Best use:
High-Luck Dwellers are great for rushing rooms, exploring the wasteland, or delivering big crits on quests.

How to Boost SPECIAL Stats
You can improve SPECIAL stats in two ways:
1: Training Rooms (e.g. Weight Room, Athletics Room, etc.) – max stat = 10
2: Outfits can boost stats beyond 10 (e.g. +5 Strength)
Want to raise stats past 10? Check out our guide to boosting SPECIAL stats over 10 for outfit tips and stacking strategy.


Leave a comment